
Official Steam screenshot · © 2026 Konfa Games / tinyBuild
Plan around the documented landing position
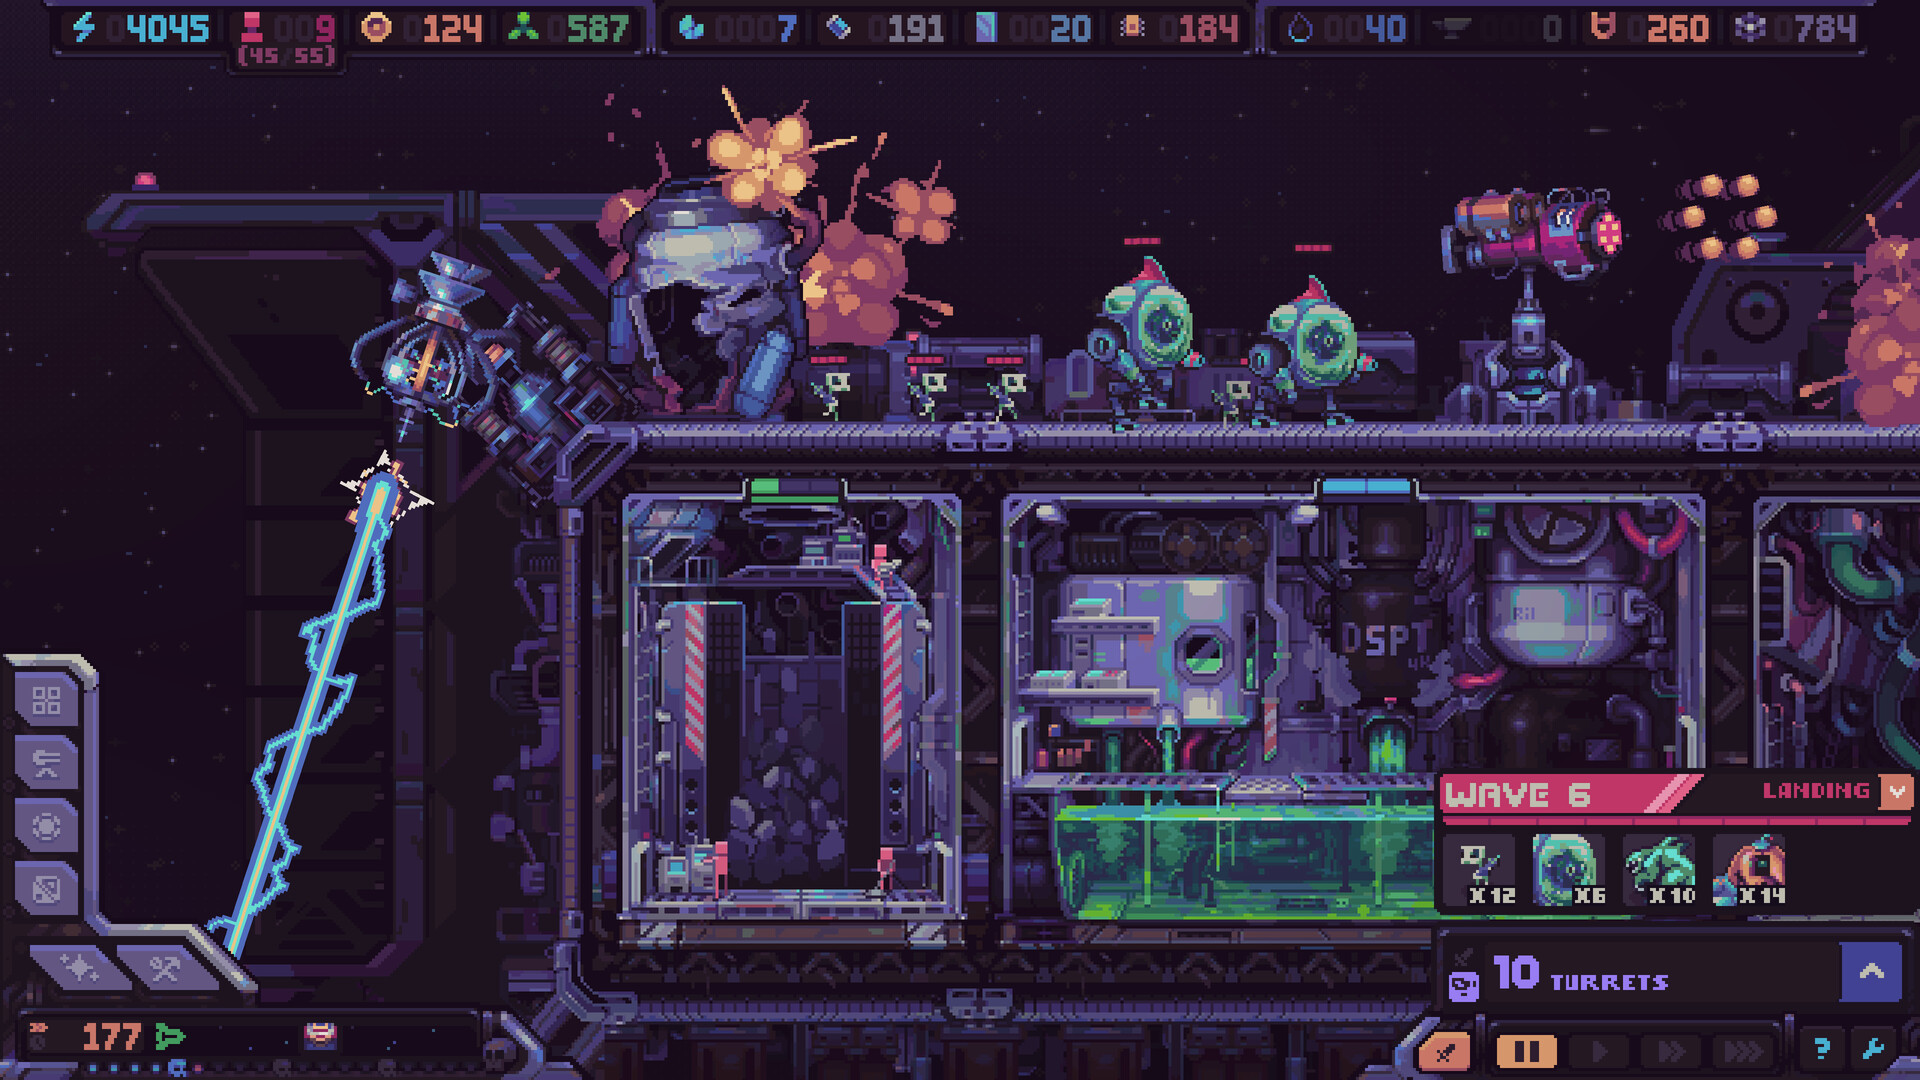
The October devlog identifies the far-left upper part of the ship as the boss landing area. That gives construction a clear role in preparation, because the path from the landing point toward the Airlock matters to the defense. Inspect that part of the vessel before deciding where the next expansion or weapon should go.
Use the position to evaluate the current geometry, rather than turn it into an invented list of boss phases or statistics. The useful question is how the enemy must move through your arrangement and where existing defenses can contribute. Preparing that relationship is supported by the material even though a complete release boss roster is not provided.
Extend an approach that weapons can use
A longer exposed route can create more opportunities for defensive fire before the boss reaches the final point. The benefit depends on useful coverage along that approach, rather than distance being valuable in isolation. Consider what the weapons can actually do with the route created by the hull before adding space solely to make the ship bigger.
Trace the path after the proposed expansion and identify where the defensive roles would contribute. Then compare that arrangement with the one already in place. This makes the construction choice part of a fighting plan, while avoiding a promise that any particular extension or number of blocks automatically produces enough damage to win the encounter.
Make the permanent hull choice carefully
Hull construction affects the module space and the path enemies travel. The construction devlog also makes placed blocks permanent, so a rushed geometric choice should not be confused with a temporary equipment adjustment. Inspect the full addition and its consequences before committing to an expansion intended to improve the boss approach.
Keep access and the useful shape of the resulting route in view together. A proposed block can provide interior room without creating the defensive opportunity you intended. Evaluate both parts of the decision, using the construction guide for the detailed constraints instead of assuming that a later module change can reverse an unsuitable permanent hull outline.
Match the available weapons to that approach
The preparation brief calls for weapons and debuffs that fit the route. That means reviewing the behavior of the equipment you actually have rather than relying on a hypothetical best weapon from another run. The route and the defensive combination need to make sense together before the boss arrives, because owning a promising kit is only one part of preparation.
Look at where coverage is useful and what complementary role each piece of equipment fills. A build should include the conditions and resource support behind those choices. This is more grounded than specifying a universal turret count or exact damage threshold that the collected material does not establish for the release encounter.
Fund useful upgrades before they are needed
Preparation includes keeping production capable of supporting the final defensive choices. An attractive improvement is only useful when the ship can construct and support it in time to contribute. Review the kit, the resources and the working economy together, rather than separating the desired weapon from the management decisions needed to make it available.
Compare the next economic project with a defensive improvement that can address the approach now. The point is not to abandon production, but to connect its development with the protection the ship needs. Use the current bottleneck to decide whether the immediate task is resource support, a useful position or equipment that complements the existing arrangement.
Do not rely on repeatedly moving every turret
The September update explains that turret relocation takes a long time and creates downtime afterward. The developer introduced those constraints to address boss micromanagement, including the strategy of moving weapons along the boss's route to attack again. Treat that patch explanation as a warning against assuming relocation provides uninterrupted extra fire during an encounter.
Plan useful positions before the fight rather than make repeated movement the foundation of the defense. The source does not provide a measured release relocation time, so there is no supported exact timing window to reproduce here. The reliable planning lesson is that moving a turret has a cost in availability and should not be treated as an instant, consequence-free reposition.
Preserve the Airlock as a final safety net
The September defensive direction places turret coverage before the Airlock's backup role. Apply the same relationship to boss preparation: use the approach to give the defenses opportunities before the enemy reaches the last line. A fallback is useful, but it should not be expected to replace every earlier part of the defensive arrangement.
Review whether the current plan leaves too much work until the final point. If it does, inspect route length, placement and compatible effects before assuming the only answer is more investment at the Airlock. That analysis connects the final defense with the rest of the ship instead of treating a boss fight as an isolated last-room damage check.
Review preparation after an unsuccessful attempt
Look for the relationship that failed: the approach may not have provided useful coverage, the selected equipment may not have fit the geometry or the economy may not have supported the intended improvements. Those observations lead to different corrections. Avoid assigning the entire outcome to an invented boss statistic or an assumed hidden requirement when the preparation problem can be inspected directly.
For the next run, keep the supported parts of the setup and change the weakest relationship. The build page helps compare coherent combinations, while the hull and turret pages explain the geometry and coverage decisions. This preparation framework answers how to ready the ship without presenting unverified boss names, phase scripts or guaranteed damage requirements as established facts.
Prepare the approach as one connected project
For a final preparation review, start at the documented landing area and work toward the Airlock. Identify what the hull asks the boss to travel through and which available defenses have a useful role along that route. Then inspect the construction and resource support behind any improvement you want to add. Considering those steps as one project prevents a promising geometric idea from being mistaken for a complete defense before the equipment and support are actually in place.
Keep the fallback in that review without making it the entire plan. If the approach leaves most of the work until the Airlock, identify why the earlier coverage is not contributing as intended. Compare a route correction, a suitable position and the support needed for each option. That is more useful than assuming repeated turret movement or an exact number copied from an older run will compensate for a preparation problem the current ship has not addressed.
Sources and version notes
- Devlog #4 — Hull Construction Deep Dive · 2026-10-22
- Hull Rupture Launches November 4 + Major Demo Update · 2026-09-14
Source dates identify the announcement or discussion behind the information. Historical demo rules are distinguished from the full-release changes described in the article.
Send a correction →