
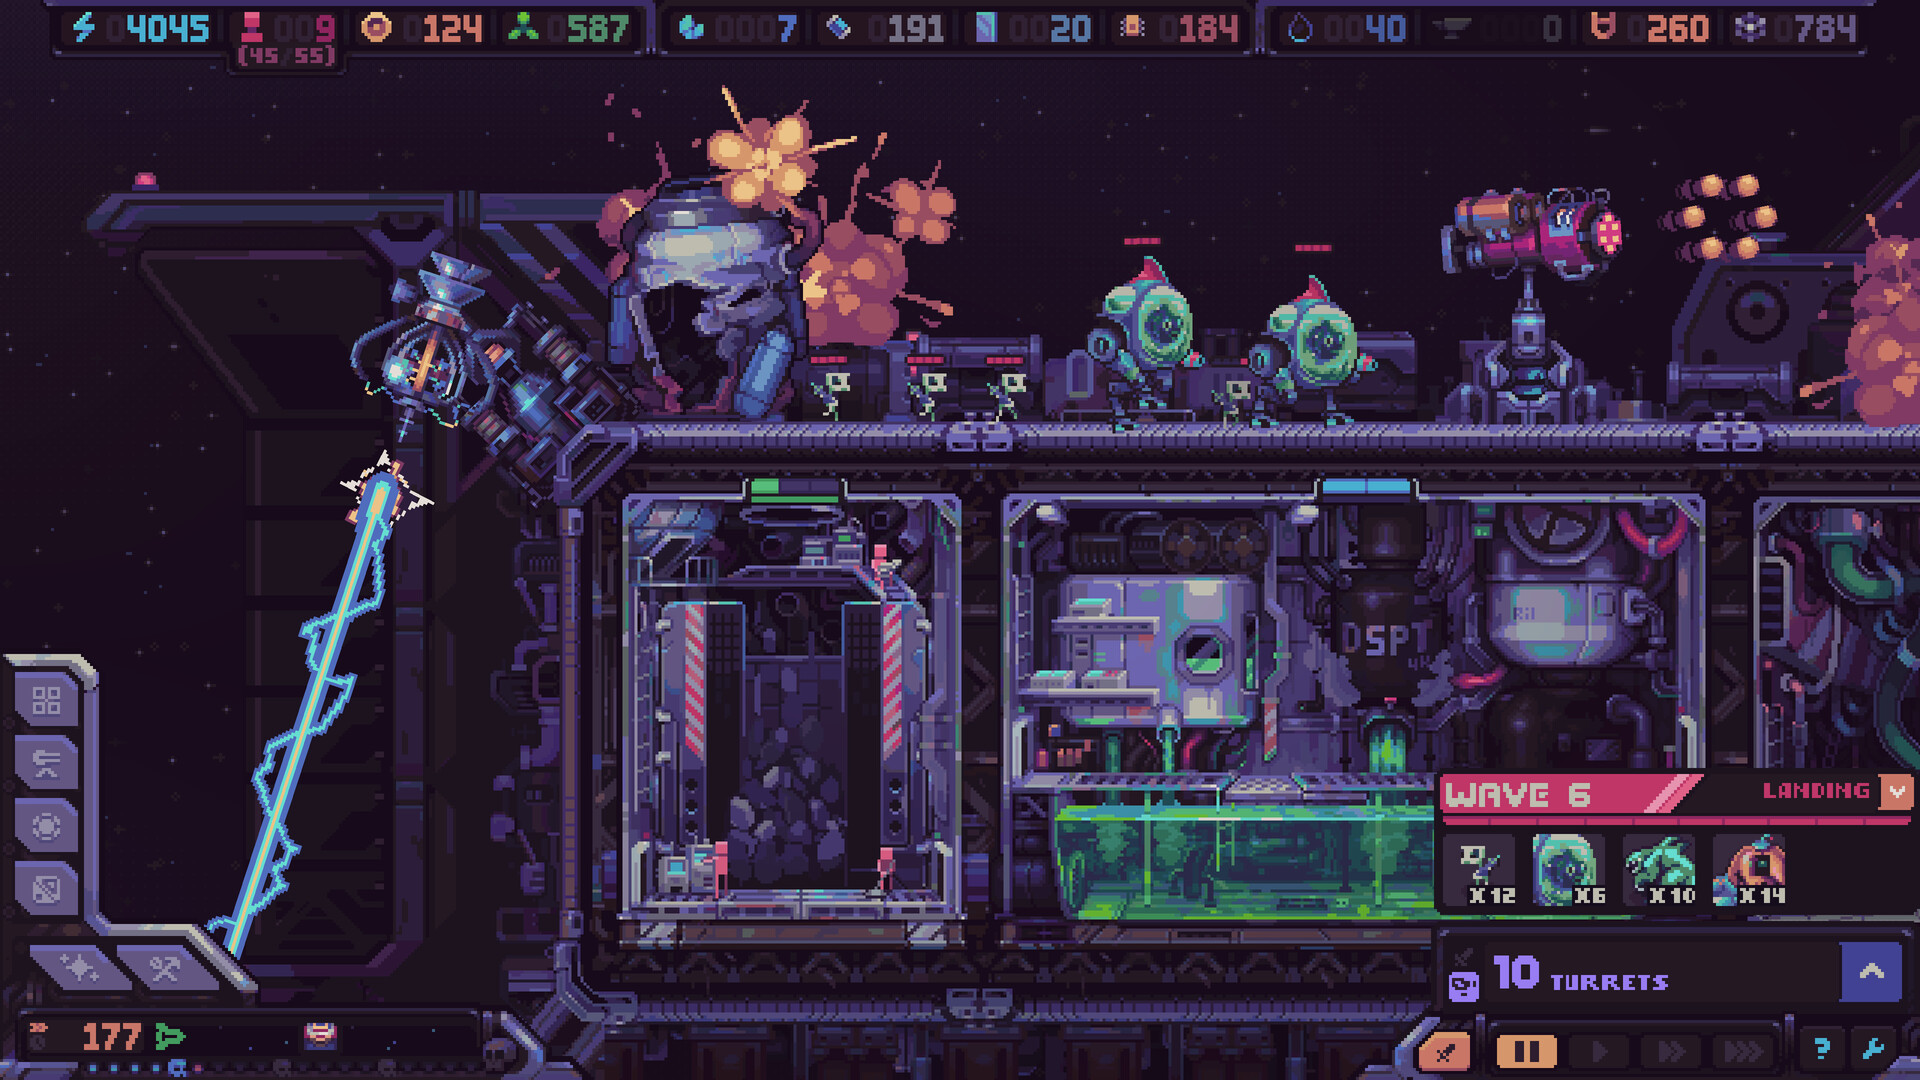
Official Steam screenshot · © 2026 Konfa Games / tinyBuild
Trace the enemy approach before choosing positions
The combat devlog connects defensive equipment with the path enemies take. Start by inspecting that path around the hull, rather than selecting a weapon in isolation and assuming any open position will provide equal value. A turret contributes through the space it can cover, so the route is part of the equipment decision.
Review the approach again after meaningful hull growth. A change that provides more room inside the ship can also change the geometry outside it. The useful question is whether the current defenses still fit the resulting movement, not simply whether the vessel now contains more equipment than it did before the expansion.
Use straight lanes for compatible firing behavior
The developer describes straight lanes as useful for piercing attacks. That relationship gives you a reason to inspect the line of approach when considering such a weapon. The benefit comes from how the firing behavior interacts with the route, rather than from a claim that every straight section automatically creates the same combat result.
Before committing resources, ask whether the intended position actually serves the lane you want to defend. Consider the role the weapon will fill alongside the rest of the setup. This avoids turning a useful geometric principle into a rigid rule that the same turret should be repeated everywhere, even where enemies approach through a very different shape.
Give winding spaces an appropriate role
The combat material also contrasts winding spaces with straightforward firing lanes. Close-range and ricocheting behavior can suit different arrangements, so a bend or enclosed area should be evaluated against the weapons available. Treat the shape as a reason to compare roles, not as a defect that must always be replaced with a longer straight section.
Look for a position where the equipment's behavior makes sense along the actual movement path. Then compare that option with a different placement or a different supporting weapon. This keeps the decision connected to the hull you can build, rather than assuming a layout from another run will suit the current equipment without adjustment.
Cover the lower approach as well as the top
The research includes a hands-on warning that top-only defenses can miss attacks from below. Review both approaches instead of allowing the more obvious side to absorb every defensive purchase. A strong concentration of weapons in one area does not establish that the rest of the vessel has useful protection.
Inspect the lower route with the same care used for the upper route. Consider how enemies move and which available firing behaviors can contribute there. The aim is not identical equipment on every side, but a coherent arrangement in which a neglected approach does not leave the final defensive point carrying work that should have been handled earlier.
Combine effects with damage
The developer describes debuffs and defensive bonuses as part of the combat system. That means evaluating a setup involves more than comparing damage descriptions one item at a time. Look at how the effects complement the weapons already positioned along the route, and read the conditions that determine whether an interaction is useful.
Do not assume every bonus applies equally to every piece of equipment. Inspect the relevant description before making a purchase around the effect. A combination should be judged by the working role of its parts, so a modest weapon with compatible support can be a more coherent choice than an unrelated addition selected only for an attractive damage label.
Support the defense with an appropriate economy
The combat devlog presents resource support as part of defensive planning. Expensive equipment can require an economy capable of funding that direction, while bonuses can support alternative approaches involving cheaper turrets. Compare the whole setup and its requirements, rather than treating the purchase of the final weapon as the only decision needed to make the plan work.
Consider what must be built or supplied before the proposed addition helps. If that commitment would leave the present defense unsupported, compare it with improving a role the current ship can already fund. This is a practical selection framework, not a numerical tier list or a claim that one spending level is correct for every run.
Keep Airlock units as the fallback
The September update shifts the defensive emphasis toward turrets. It describes the Airlock and units stationed there as the final line for enemies that get through the exterior arrangement. Use that role to connect the last defensive point with the approach coverage, rather than assume the intended plan is to ignore turrets and concentrate everything inside.
Older unit-heavy demo strategies need that version context. Their existence does not prove the same balance applies to the current approach described by the developer. When considering an older build, identify whether it relies on the Airlock replacing the entire turret system instead of serving as the backup for a working defense along the ship.
Fix the weakest relationship, not just the total count
When enemies get through, inspect where the approach and firing behavior failed to work together. The issue may be an uncovered direction, an unsuitable position or missing support for the chosen defensive role. Adding another turret without identifying that relationship can repeat the same weakness with a larger resource commitment.
Use the hull guide for geometry, the build page for equipment combinations and the boss guide for preparation toward the documented landing approach. Keep resource support in the comparison when deciding how to improve coverage. Those connected questions provide a grounded defensive plan without invented release DPS tables, guaranteed turret counts or a universal arrangement for every possible ship.
Test a placement idea against the route
Before funding a new position, describe the part of the approach it is intended to cover. Then compare that path with the weapon's documented firing behavior and the complementary effects already available. This can reveal a mismatch before the ship commits resources to repeating the same defensive role in another unsuitable place. A useful placement explanation should connect movement, equipment and support rather than rely only on the item's reputation in a different layout.
Review that explanation after hull growth. The reason a position was useful can change when the approach or the surrounding geometry changes. Keep the role that still fits and reconsider the part that no longer contributes as intended. This is an editorial inspection method rather than a claim of a measured combat test, but it follows the developer's central defensive relationship: the effectiveness of a chosen arrangement depends on how its weapons interact with the routes enemies actually take.
Sources and version notes
- Devlog #2 — Not Your Typical Tower Defense · 2026-06-18
- Hull Rupture Launches November 4 + Major Demo Update · 2026-09-14
Source dates identify the announcement or discussion behind the information. Historical demo rules are distinguished from the full-release changes described in the article.
Send a correction →