
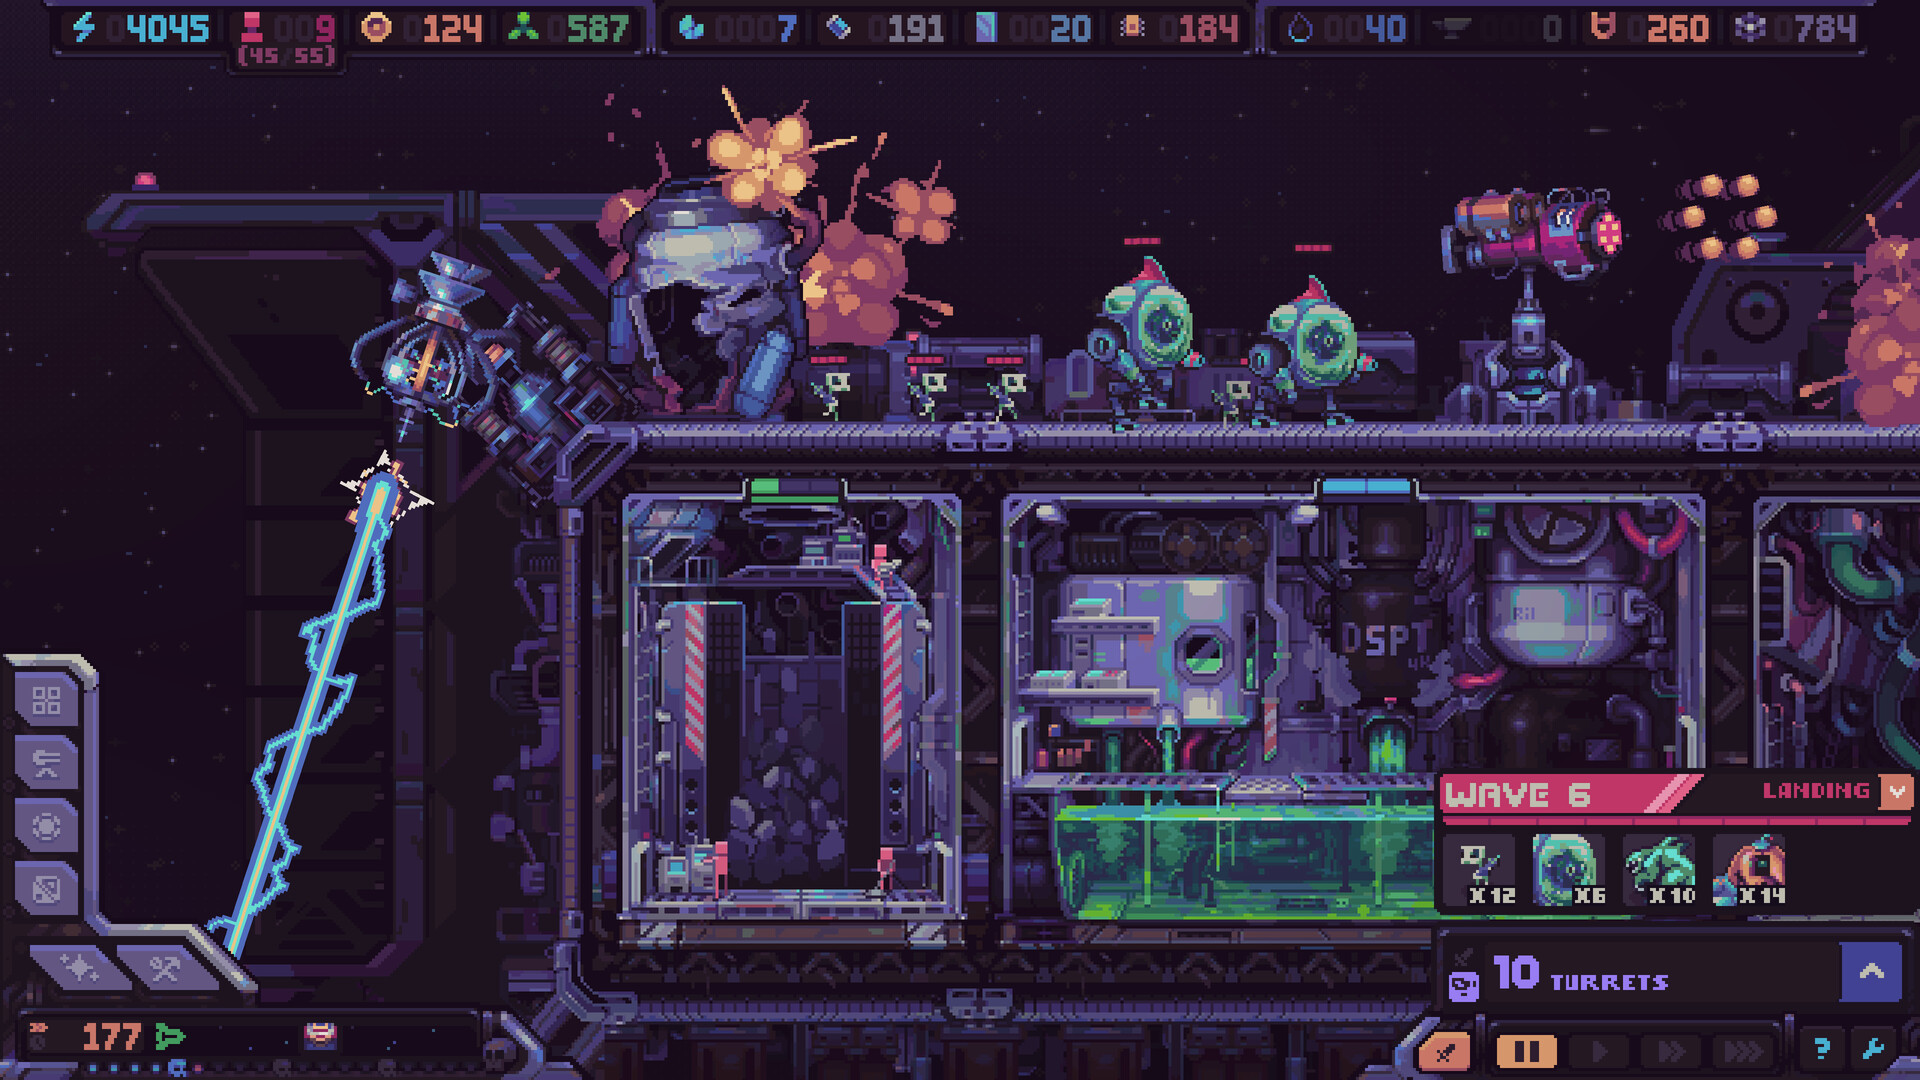
Official Steam screenshot · © 2026 Konfa Games / tinyBuild
Read income as a current measurement
The September update explains that Info Mode reports current per-minute production. That display is useful for understanding what the ship is doing now, but it is not a promise that the same output will continue indefinitely. If an input runs short or capacity changes, the conditions behind the attractive rate can change as well.
Use the rate alongside the resources and systems that sustain it. When considering an expansion, ask whether the producer will still have what it needs after the new demand is added. This makes the display a practical diagnostic tool rather than a number that automatically approves every purchase you can currently afford.
Follow a production stall upstream
A stalled module should lead you to its inputs, staffing and capacity. Those checks answer different questions, even when the visible symptom is simply that output has stopped. Start by identifying the resource or labor relationship that has changed, rather than adding another consumer because the ship appears to have plenty of room.
This approach also helps when a rate looked healthy immediately before the problem. The earlier number described an earlier state, so it cannot rule out a later shortage. Inspect the chain behind the stalled producer and make a targeted correction before using the new rate to decide whether additional growth is sustainable.
Match the lane to the weapon
The combat devlog describes weapons with different firing behaviors. Straight approaches can suit piercing fire, while winding or enclosed areas can favor closer coverage or ricocheting attacks. The useful comparison is therefore not only which turret looks stronger, but how the weapon will interact with the space enemies actually cross.
Trace the approach before selecting the position. If you change the hull, repeat that review because the route may no longer provide the same opportunities. A weapon choice that makes sense in one geometry should not automatically be repeated everywhere on a ship with several differently shaped approaches.
Check both sides of the defense
Do not let the most visible attack direction become the entire defensive plan. The material warns that top-only defenses can leave an approach from below insufficiently covered. Treat the route around the vessel as something to inspect in full, rather than assuming enemies will conveniently use the side where your strongest equipment already sits.
Compare the uncovered part of the approach with the behavior of your available weapons. The right response might involve a different position or a different supporting role, rather than copying the same turret into another location without checking its usefulness. This keeps the defensive decision tied to movement and coverage rather than to appearance alone.
Read bonus conditions before investing
Artifacts and modifiers can change how useful a particular setup becomes. Their conditions matter, because a bonus is not automatically contributing merely because it appears in a description. Before buying equipment to benefit from one, inspect what must be true for the interaction to apply and whether your current arrangement satisfies that requirement.
This is particularly important when a promising bonus seems to suggest a completely new build. Compare the resources needed to support the change with the benefits that would actually be active on the existing ship. Build around an interaction you can use, rather than treating an attractive conditional description as an unconditional increase to every defense.
Let the available kits shape the plan
The equipment and layout of a run can vary. Work with the kits already available instead of treating a missing item as proof that the whole attempt must follow a broken plan. Consider what each option can contribute to production or defense, then select a direction that the current economy and geometry can support.
An adaptable approach does not mean buying everything. It means choosing a coherent use for the options you have, with the requirements and supporting systems considered at the same time. This is more grounded than assuming a specific future drop will repair a decision that is not currently helping the ship.
Compare useful coverage instead of numbers alone
Damage is only one part of the defensive picture described in the combat material. Weapon behavior, debuffs, positioning and economic support also influence whether the setup makes sense. A numerical comparison that ignores where enemies travel can miss why a supposedly modest weapon is useful in the particular corridor you have built.
Ask what role the next turret fills and how it complements the rest of the defense. Then inspect whether the production needed to construct or support the choice is available. This connects the combat decision to the management loop instead of evaluating every weapon as an isolated item with no cost or placement context.
Turn a tip into a repeatable check
The most useful habit is to connect a visible problem with a specific inspection. If output stalls, inspect inputs and staffing; if defense feels weak, inspect routes and weapon behavior; if a bonus seems ineffective, inspect its condition. These are practical checks derived from the documented systems, rather than a guaranteed trick that bypasses the need to manage them.
Use the specialist pages when one of those checks reveals a recurring issue. The power guide focuses on Energy shortages, while the build and defense guides explain how geometry and equipment support each other. The shop guide covers kit decisions, keeping this tips page focused on recognizing problems and choosing the next useful question.
Compare the situation before and after a change
A practical way to use these tips is to compare the ship immediately before and after a meaningful investment. Note which production input, worker assignment or enemy route the choice was intended to improve. If the expected benefit does not appear, return to that relationship instead of assuming every part of the plan needs replacing. This gives the next correction a clear purpose while keeping a current-rate display in its proper context as a measurement of the present arrangement.
Apply the same comparison to a new modifier or turret. Read the condition and the role first, then inspect the part of the route where the equipment is meant to help. A bonus that does not match the setup should not be counted as support merely because its description sounds powerful. The habit is to make the reason for an investment visible, so an attractive number or item name does not replace the actual management and coverage decision.
Sources and version notes
- Hull Rupture Launches November 4 + Major Demo Update · 2026-09-14
- Devlog #2 — Not Your Typical Tower Defense · 2026-06-18
Source dates identify the announcement or discussion behind the information. Historical demo rules are distinguished from the full-release changes described in the article.
Send a correction →